





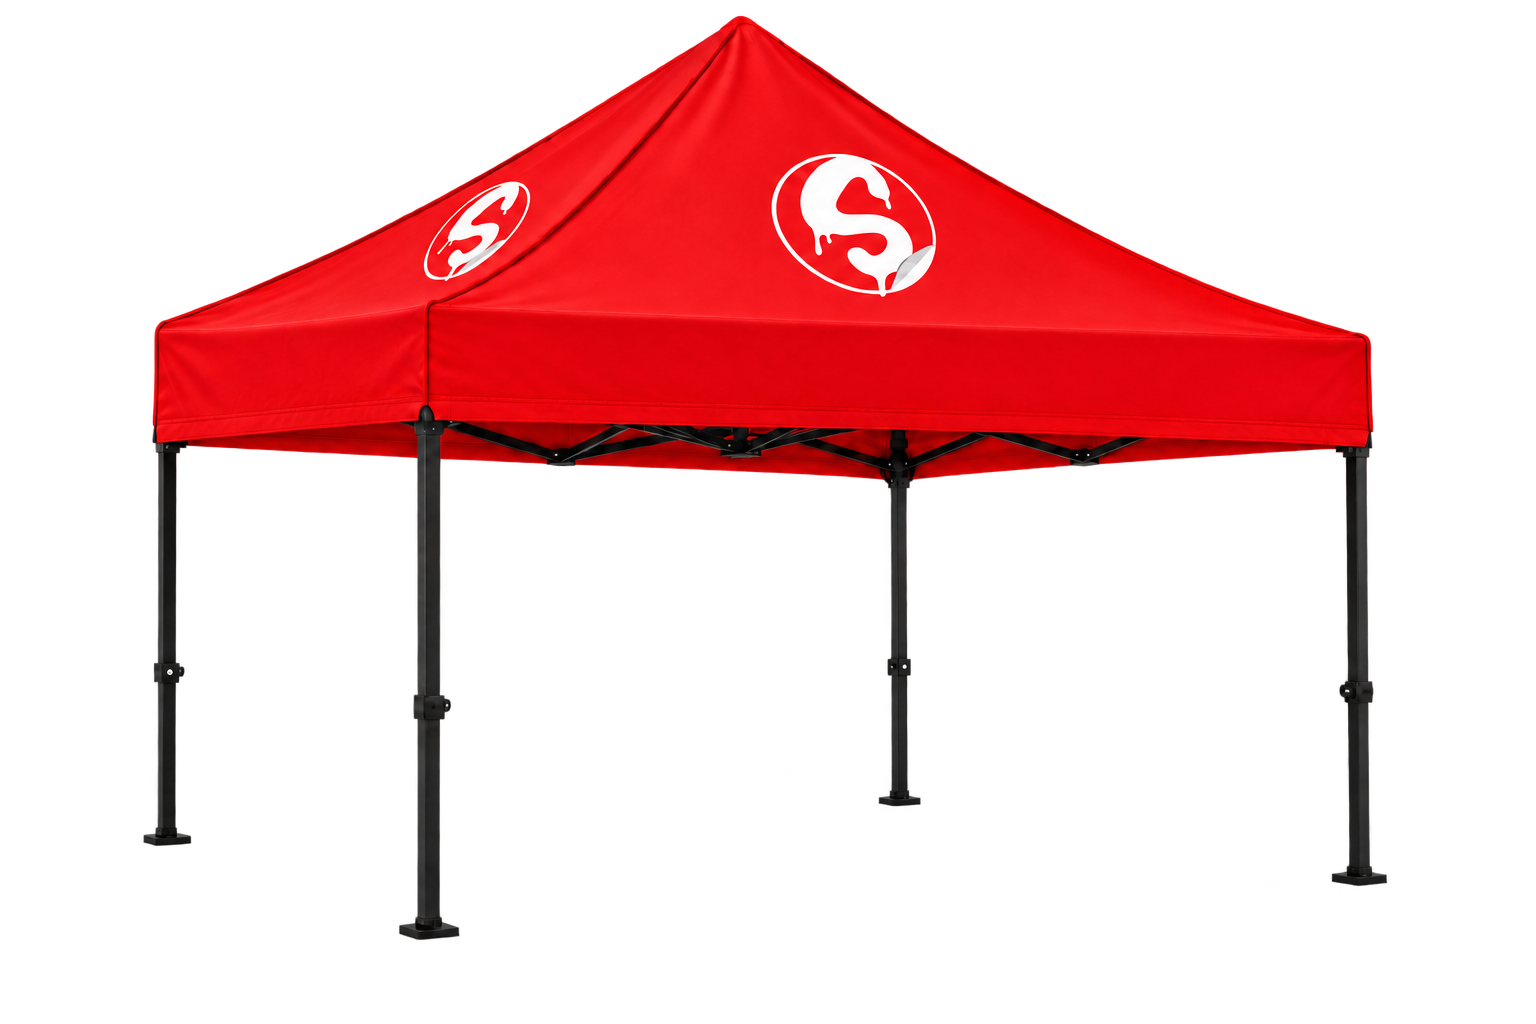


Fabric shown on a display frame. Frame is not included.
Product mockup. Your order is printed with your artwork.
Artwork setup
Prepare a single-page PDF or JPEG in CMYK at your finished size. Use 150 dpi for raster artwork, outline fonts and omit crop marks or extra bleed. Two-sided designs need separate front and back files.
Your design, ready for print
Tell us about important edge details or installation requirements with your quote. We’ll coordinate the artwork and confirm production details with you.
Stickers
Banners
Posters
Event tents
Select your size, material and quantity.
A closer look
Made for your design
A closer look
Take a closer look.
Look a little closer
Details you can feel.
Raised clear ink brings a tactile layer to your artwork. Gloss catches the light along selected details, giving illustrations, lettering, and fine lines a different dimension.

From file to finished sticker
Prepare your artwork
A quick guide to finished size, cut lines, bleed, and the details to check before printing.
- Choose your size, finish, and quantity, then place your order.
- Prepare your artwork for upload to your order after payment.
- Review your proof for artwork, spelling, size, and cut shape before approval.
Artwork setup
Customize it with your artwork
Choose your product options first, then use the matching production template when one is provided. After checkout, upload your artwork from your order page and choose whether it can go straight to print or needs a designer to review the proof.
- Choose the exact size and style. The download area updates to match your selection.
- Design inside the template. Keep the artboard and guide layers in place, extend backgrounds through the bleed, and keep logos and text inside the safety line.
- Export a print-ready file. PDF is preferred. Use CMYK color, outline or embed fonts, and supply raster artwork at 150 PPI or higher at final size.
- Upload after payment. Your order page checks the file and shows the next proofing step before production.
Your production file
Build at the ordered size
This product does not use a separate fixed-shape template. Create one page for each printed side at the exact ordered dimensions. Keep important text and logos at least 0.25 in from cut, seam, or hardware areas; we will confirm the production layout after upload.